


With a 3D printer, the opportunities of what you can print are unlimited. How about making an articulated slug 3D print or an articulated octopus 3D print? Slugs and octopuses are amazing mollusks that many people can want to learn about if they get an opportunity to interact with their 3D models.
Many people view slugs as simply snails that are homeless. But labeling these creatures this way is a bit unfair because slugs are actually fascinating animals with an interesting body shape, physiological system, and lifestyle.
A slug's internal shell is made up of fleshy protein. The creatures excrete a greasy mucus which facilitates their locomotion, and they have four tentacles that make it possible for them to smell, see, touch and taste multiple objects. Slugs breathe via a blowhole that is located on their side and has 27,000 teeth to cut and grind food!
And why should we make an articulated octopus 3D print? Because the life of an octopus is equally interesting. Octopuses are super smart creatures with arms that have hundreds of suckers that are very sensitive to stimuli. They are masters of camouflage and have evolved a wide range of tricks over the years to avoid or stop would-be attackers. Octopuses are also venomous, and when stressed, some of them can eat their own arms!
With the above information, it can be really exciting to make an articulated slug 3D print or an articulated octopus 3D print. Creating any of these two types of prints will basically involve downloading and setting up the model that is to be printed, slicing it using an appropriate slicer software, and then printing it. Here is a step-by-step guide on how to make a 3D-printed slug.
- Search Online and Download a Free Slug Model File
There are many types of 3D printable slug models online. Therefore, you can search articulated slug 3D print files online and choose a model that pleases you. Once you have downloaded the file, you should move it to your preferred model folder. There are many file formats for 3D print files including .stl, .dae, .blend, .obj, .dxf, and .3ds. Since you would like to use the slicing software, you need to select the .stl format.
You can also opt to design your own articulated slug 3D model instead of downloading one if you have the requisite CAD skills.
- Prepare to Use the Slicer Software
Snapmaker printers come with their own slicer software referred to as Snapmaker Luban. It is therefore recommended that you use this application if you have a Snapmaker printer. Basically, a slicer software is an application that controls the process of 3D Printing.
Slicing means using a slicer application to chop a 3D model into many layers so that the model can be printed. The slicer software enables you to decode a 3D model into information that can be understood by a 3D printer so that the device can print an entire object's parts.
Let's say that you have downloaded a .stl file of an articulated slug model. The brain of your 3D Printer does not understand this file format. The function of a slicing application is to process the file a bit in order to convert the file into a new format that can be read by the Printer. This is a crucial step that you have to undertake before you embark on the actual 3D printing work.
The name 'slicer' denotes that the main function of the slicing software is to slice a given 3D print file layer by layer. This follows the same principle that 3D Printing involves printing an object by putting down successive layers until an entire object is created.
Different brands of 3D printers have slicing applications that are compatible with them. Even then, most operations of different slicer applications are similar. You can easily search and download the slicer app that matches your 3D Printer.
- How to Use the Slicer Software
Below is an outline of how to slice an articulated 3D model and print it using an FDM printer.
- Drag the .stl articulated slug model file into the slicing software interface.
- Select the type of machine (3D printer) that you would like to use. Then select the nozzle size based on the specification of your 3D Printer. It is important to note that different 3D printer models have different build volumes. Build volume is the amount of space that is available in a 3D printer to facilitate the slicing of a given 3D model.
- Adjust the position of the slug model. You can change the position and size of your slug model using commands such as rotate, move, or scale. This action is important because sometimes, when a model is introduced into the slicer, a section of its body may be sticking out of the build area. By clicking on 'move,' you can drag the model to the right position. 'Scale' denotes reducing or enlarging the model.
- Add supports for the model. After adjusting the model's size and position, you need to add support for it. Support is required as long as some of the model's parts are dangling because it is difficult to raise such parts. Adding support is an important activity that is aimed to guarantee successful Printing.
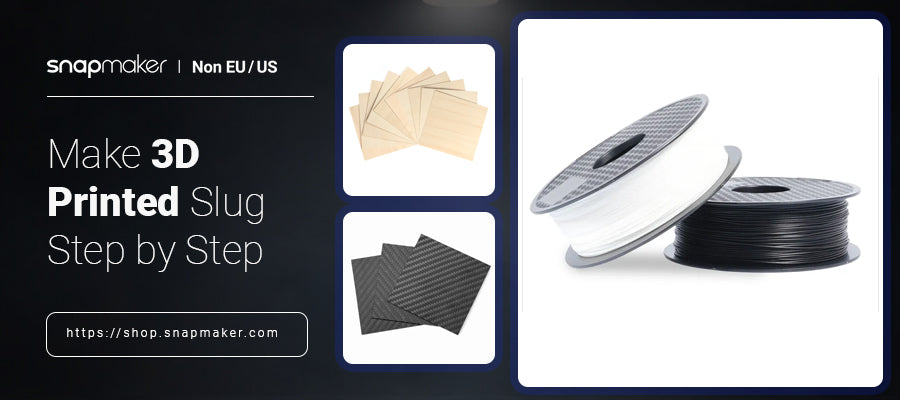
- Slice the model. Slicing is the key operation in the slicer application. If the model is well set, you can click on 'Start slicing.' On the printer tab, select the type of material. The material can be PETG, PLA, or ABS. The extruder temperature will change automatically depending on the type of material that you select.
- Prine Pine Print Your Model
Before creating your articulated octopus 3D print, you need to select the color that you want, which could be green, red, yellow, gold, purple, pink, or any other. Choose the appropriate color and filament type and start the printing process.
- Key Points to Note
- You should use an appropriate extruder temperature so that the slug joints are pasted together
- Use an appropriately-sized nozzle mouth.
- Ensure that the filament that you are using is of the right quality.